
Checkout & orders
Checkout and Orders are the retail and restaurant side of VertaFlow. Checkout is the point-of-sale screen you use to ring up a sale and take payment; Orders is the board where those sales line up to be fulfilled.
Checkout (the POS screen)
Section titled “Checkout (the POS screen)”Open Checkout from the sidebar. What you ring off depends on your business type: restaurant-style workspaces ring off the menu, everything else rings off the product catalog.
- The left side is the catalog. Filter by category, or search by name, and click an item to drop it in the cart.
- The cart on the right shows each line and its quantity — use + / − to adjust quantities. The subtotal updates as you go.
- Set a tax % if you charge tax; VertaFlow figures the tax and total for you.
- Click Charge. VertaFlow rings up the sale and shows a receipt with the invoice number and total.
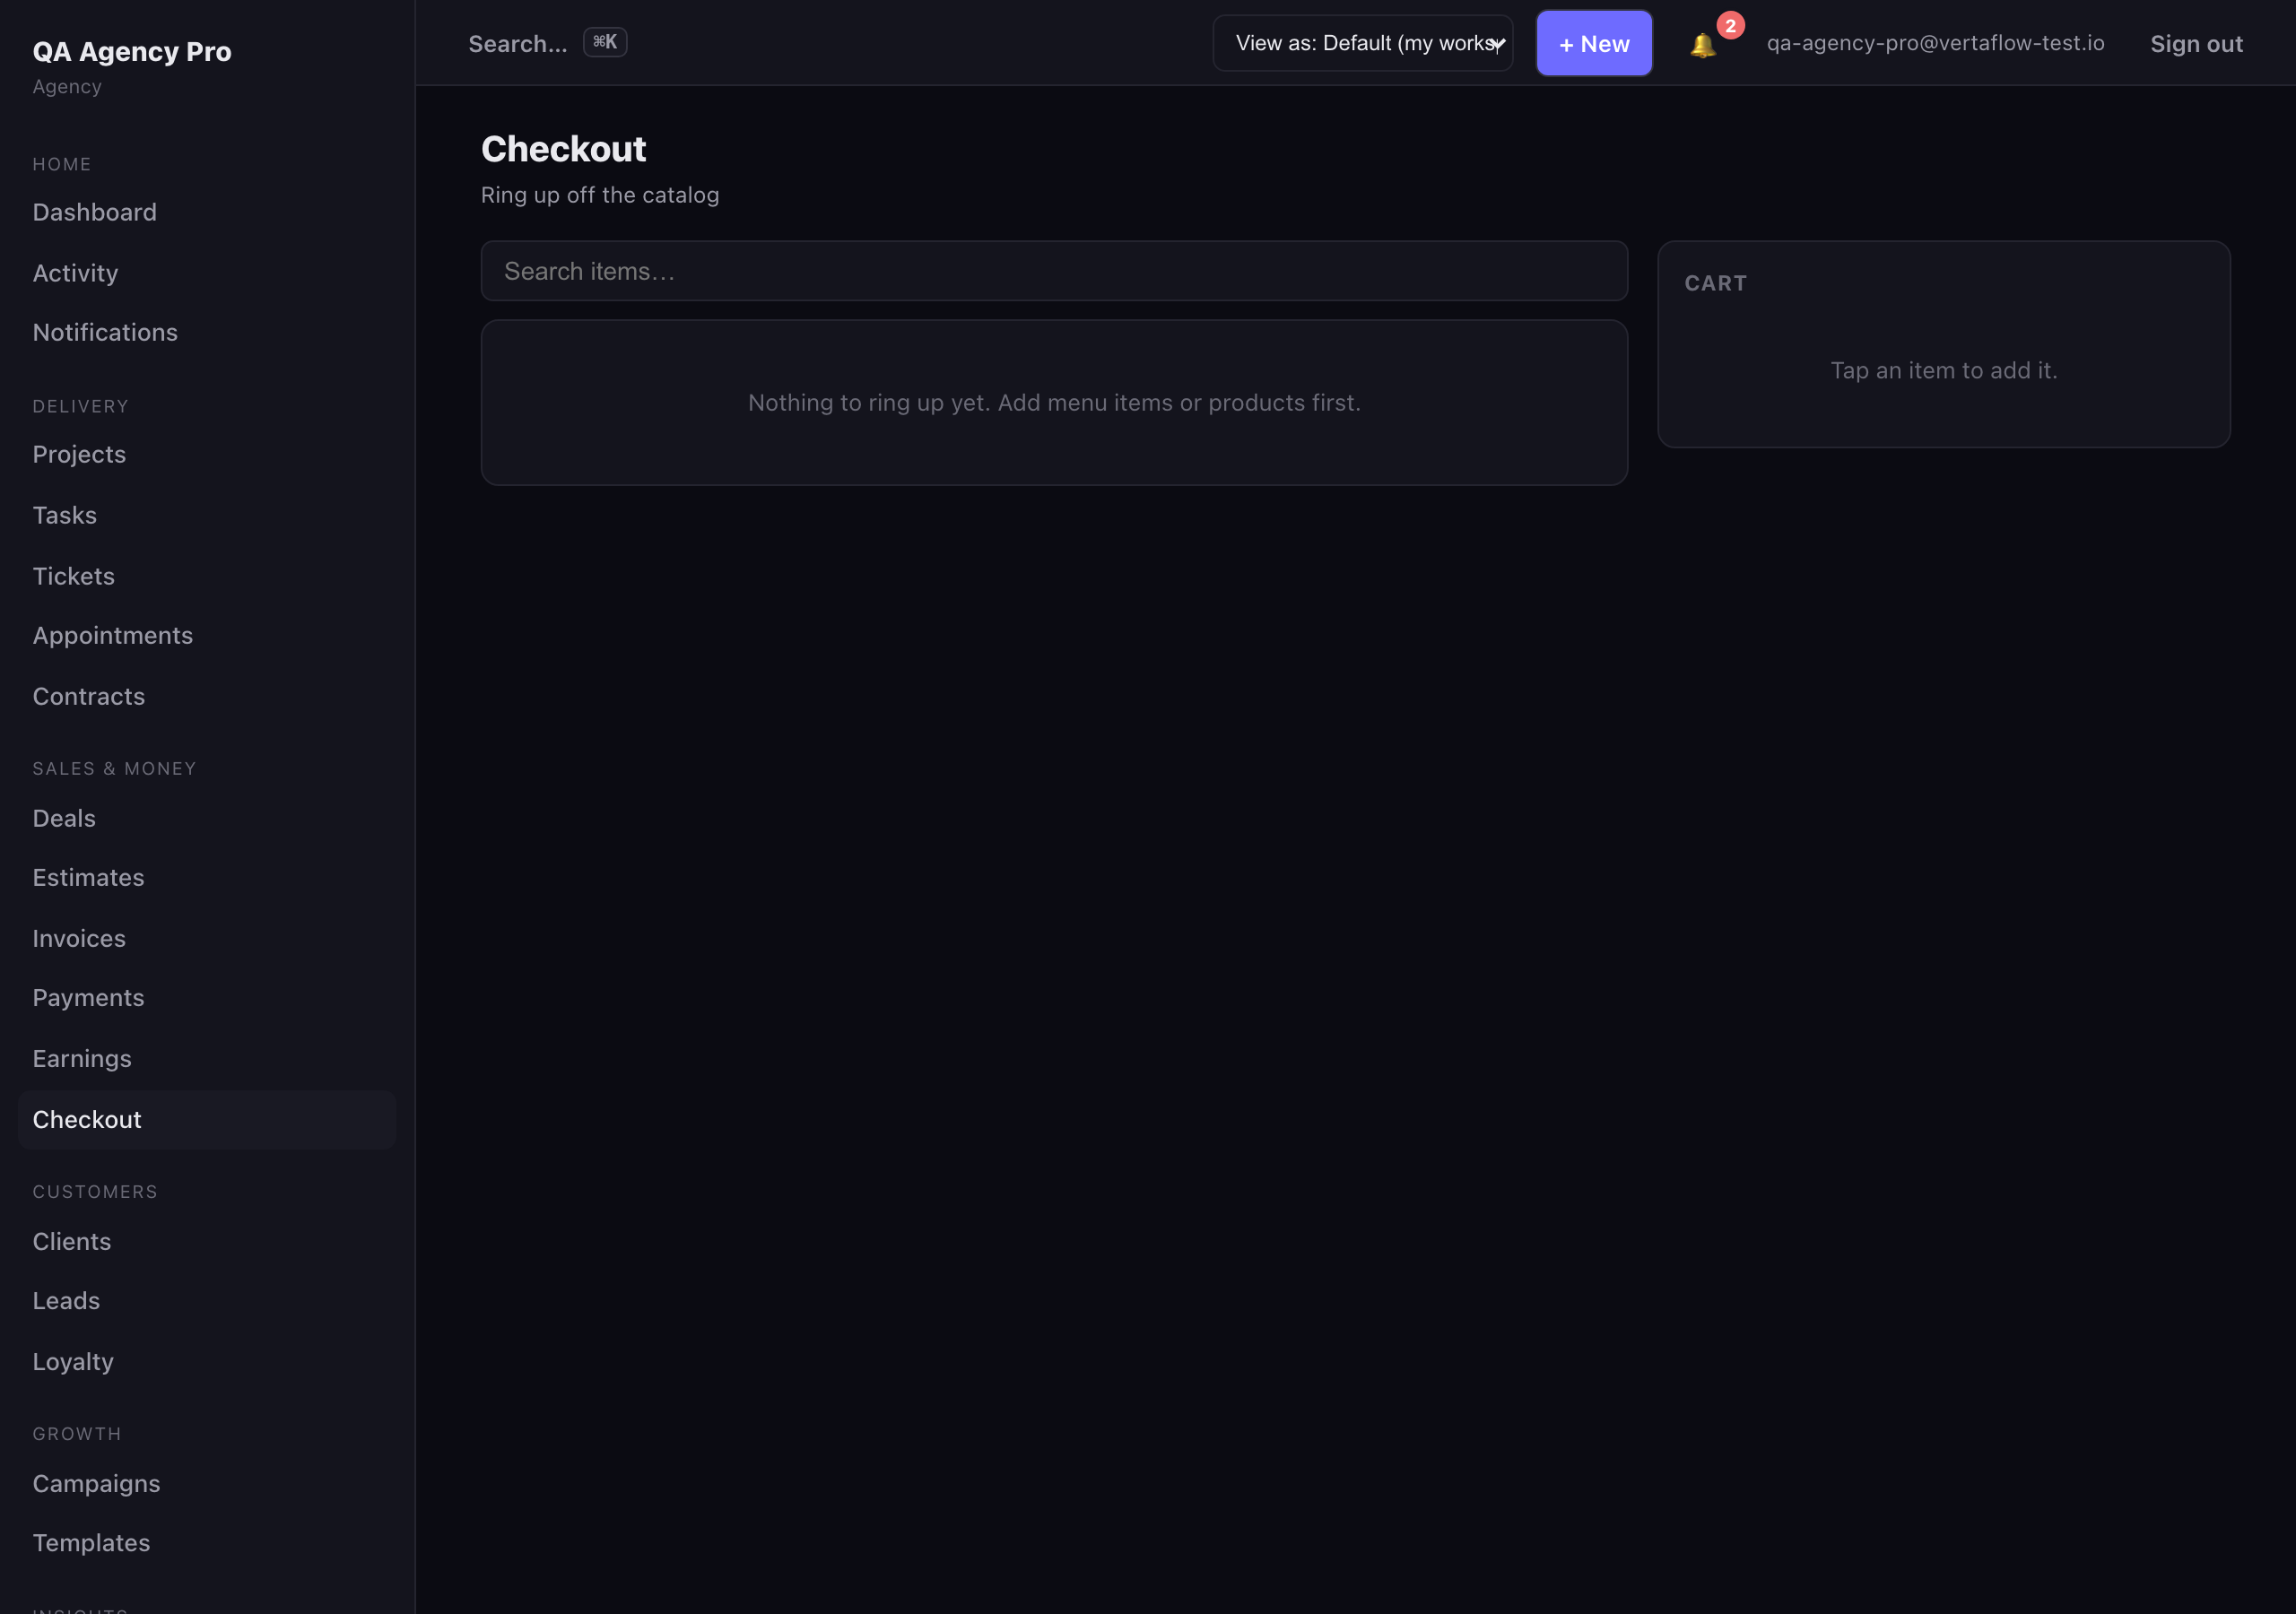
Checkout: pick items from the catalog, set tax, and charge.
Behind the scenes a Checkout sale creates an invoice and records the payment against it, so the sale shows up in Invoices and Payments automatically — it’s the same money, just one source of truth.
The Orders board
Section titled “The Orders board”Open Orders from the sidebar. Every retail sale lands here as an order so you can track it from sale to handoff. Each row shows the order (its invoice number), the client, item count, status, purchase date, and total.
Orders move through three fulfillment lanes:
- New — just came in, not started.
- Fulfilling — being prepared.
- Done — complete.
Filter by lane with the buttons up top, or click a row to open the order.
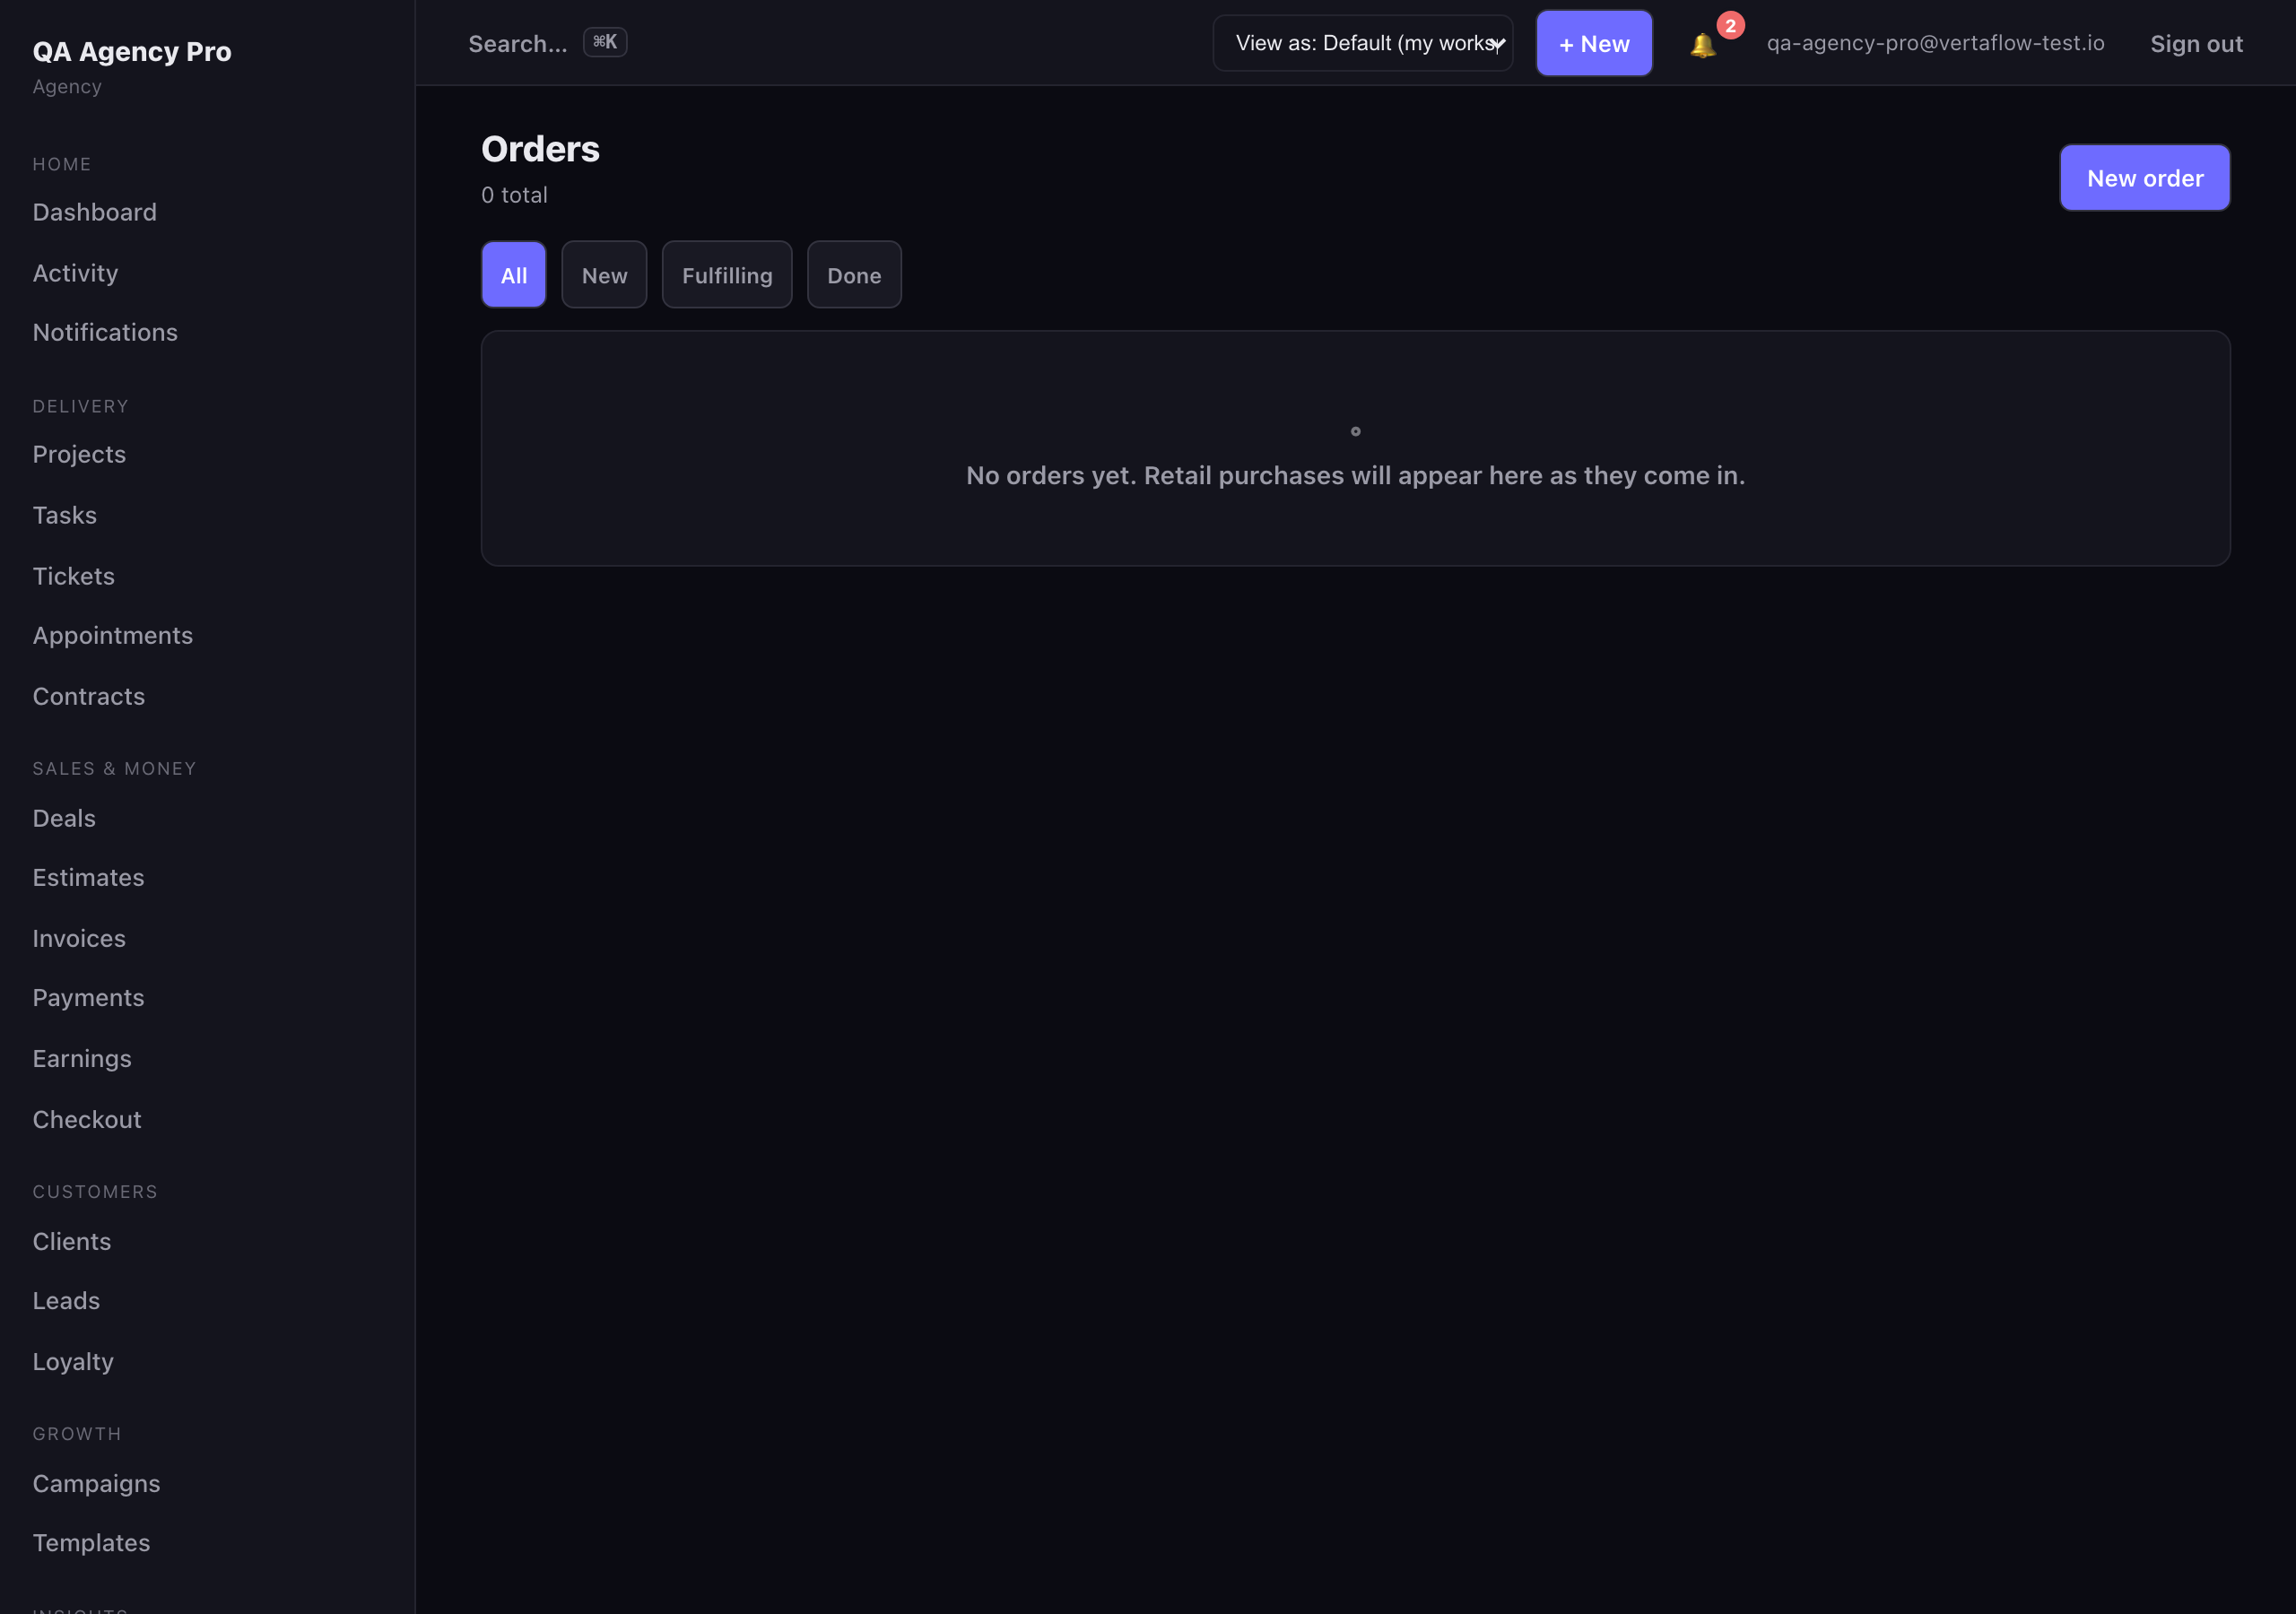
Orders: track each sale across the fulfillment lanes.
Advancing an order
Section titled “Advancing an order”Each row has a button that moves it to the next lane — → Fulfilling, then → Done. Click it to advance the order; an order in Done is complete and can’t advance further. Moving an order updates the linked invoice’s status to match, so Orders and Invoices never disagree.
Create an order by hand
Section titled “Create an order by hand”Most orders come in through Checkout, but you can also log one manually — handy for a phone or walk-in order you’re recording after the fact.
- Click New order.
- Pick a client — orders are client-backed, so this is required. You can also create a new client right from the picker.
- Add line items — each has an item name, quantity, and unit price. Click + Add line for more rows; the line and running totals update as you type.
- Optionally set a tax (%). The subtotal, tax, and total are shown as you build.
- Click Create order.
The new order lands in the New lane, ready to be fulfilled.